How a FiveM loading screen works
A loading screen is a normal resource in your server's resources folder. Inside it is an HTML page (plus CSS, pictures, video and music). FiveM shows that page in its built-in browser while the player joins.
The resource's fxmanifest.lua tells FiveM what to show:
loadscreen 'index.html': the page to show.files { ... }: every file the page uses. A file that isn't listed here won't load.loadscreen_manual_shutdown 'yes'(optional): keeps the screen up until a client script closes it withShutdownLoadingScreenNui(). Use it when you want the screen to stay until the player has really spawned. Without it, FiveM closes the screen by itself when the game has loaded.loadscreen_cursor 'yes'(optional): shows the mouse cursor, so players can click buttons on the screen.
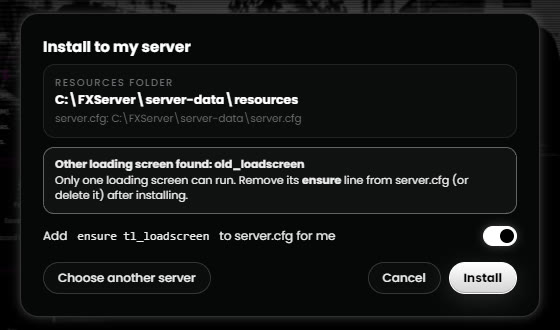
Only one loading screen can run. If your server already has one (many frameworks ship with one), remove its ensure line before adding yours.
Make a simple loading screen by hand (free script)
- In your server's
resourcesfolder, make a new folder, for examplemy_loadscreen. - Inside it, make a file called
fxmanifest.lua:fx_version 'cerulean' game 'gta5' loadscreen 'index.html' files { 'index.html', 'background.webm', 'music.ogg' } - Next to it, make
index.html:<!DOCTYPE html> <html> <head> <meta charset="utf-8"> <style> html, body { margin: 0; height: 100%; background: #000; overflow: hidden; } video { position: fixed; inset: 0; width: 100%; height: 100%; object-fit: cover; } h1 { position: fixed; bottom: 10%; width: 100%; text-align: center; color: #fff; font-family: Arial, sans-serif; font-size: 48px; } </style> </head> <body> <video src="background.webm" autoplay muted loop></video> <audio src="music.ogg" autoplay loop></audio> <h1>My Server RP</h1> </body> </html> - Put your
background.webmandmusic.oggin the same folder. - Open
server.cfgand addensure my_loadscreen. - Restart the server and join.
The folder name and the ensure name must match. Every file in the folder that the page uses must be in files { }.
Video and music tips
- Use .webm for video (VP8 or VP9). FiveM's browser usually can't play .mp4 files in the loading screen, so an .mp4 often shows as black.
- Keep the video short and small: 10 to 60 seconds and under about 50 MB. It loops, so a short clip is enough. VP9 is very small: a 76-second VP9 clip can be around 7 MB.
- Mute the video and play music separately. Music as .mp3, .ogg or .wav works.
- Every MB counts. Players download the whole loading screen before they see it. A big screen means a longer wait on first join.
To turn an .mp4 into .webm you can use a free converter like HandBrake, or FFmpeg:
ffmpeg -i input.mp4 -c:v libvpx-vp9 -b:v 2M -an background.webm(-an removes the sound from the video. Add your music as its own file.)
Players hear no music? In Windows, open the Volume mixer and check that FiveM Chromium Browser isn't turned down.
The easy way: Loading Screen Studio
Writing HTML by hand gets slow once you want a real loading bar, a music player, rules and staff. Loading Screen Studio builds the whole resource for you, with a live preview that is the real page players will see. No coding needed; custom CSS and HTML are there under Advanced if you want them.
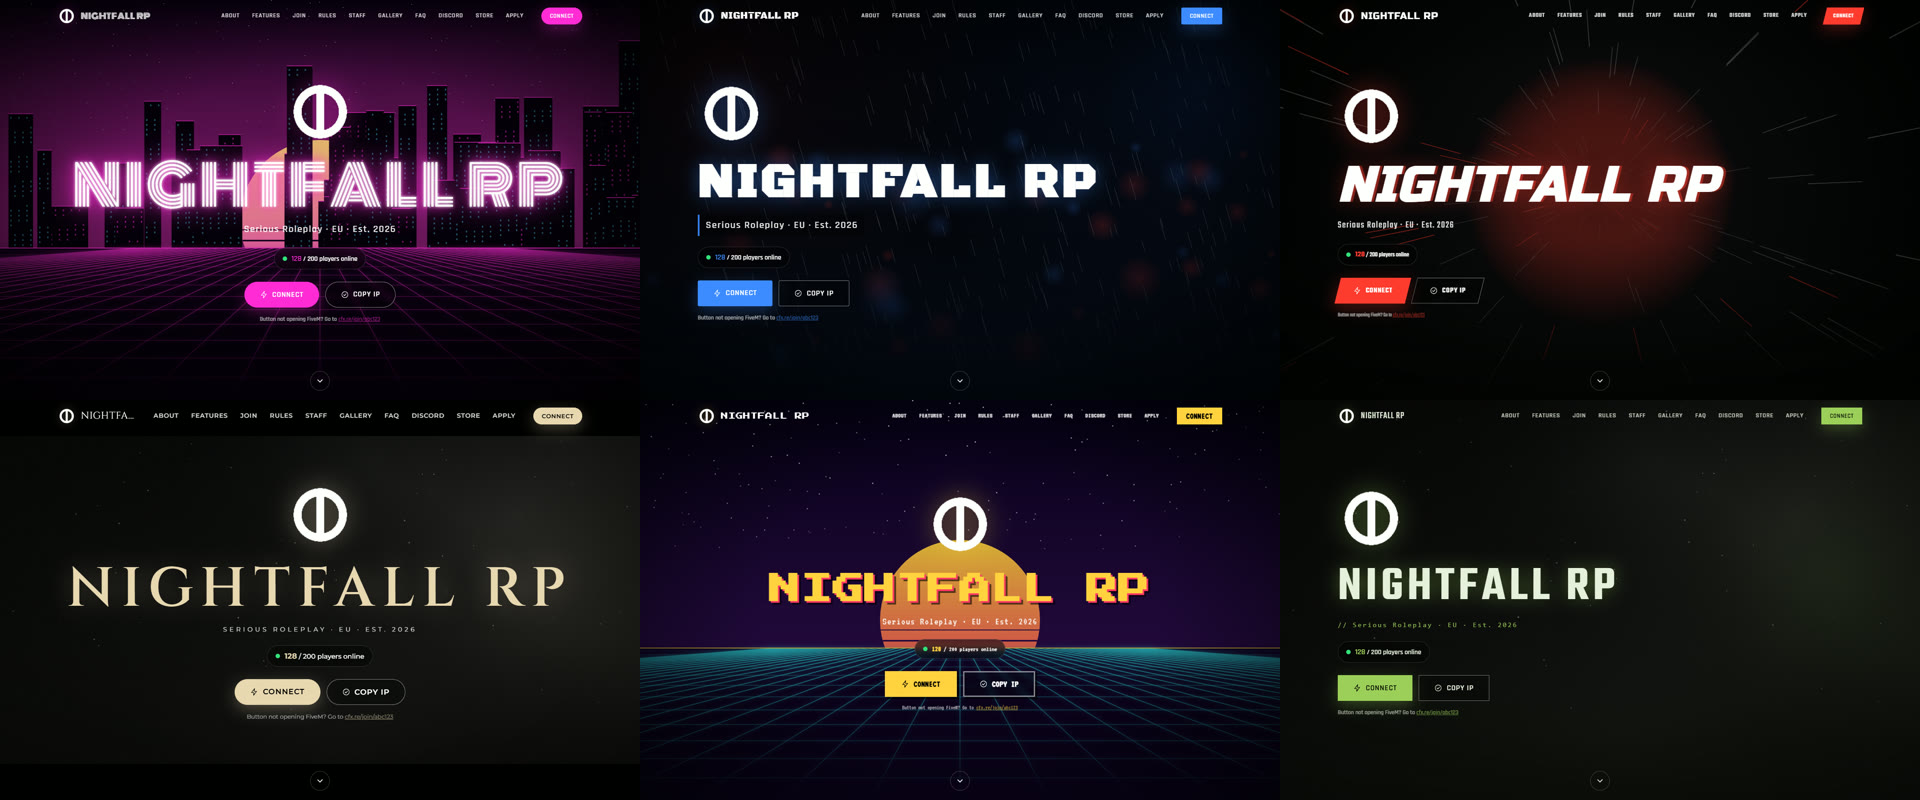
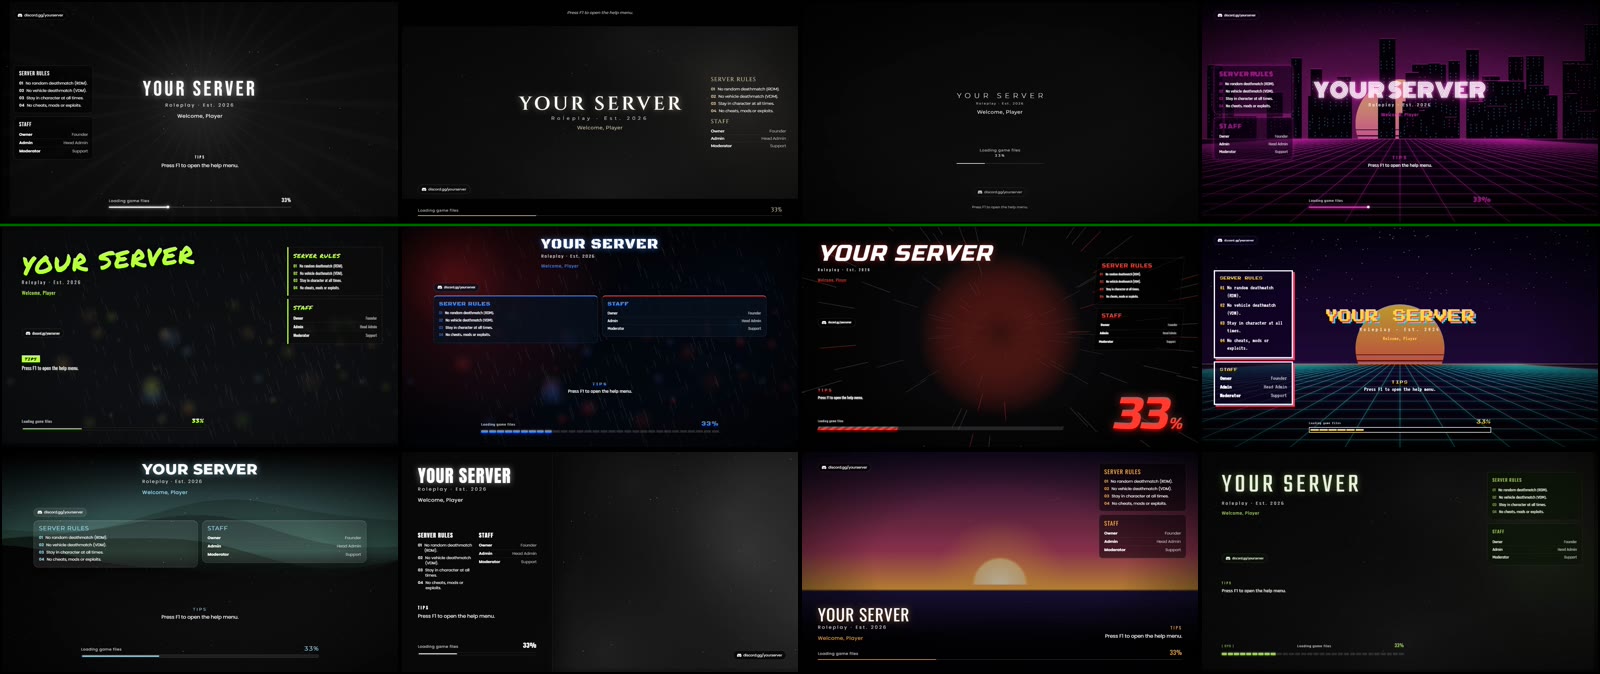
- 12 templates: Mono Glow, Cinematic, Minimal, Neon City, Streets, Police RP, Racing, Retro Arcade, Glass Cards, Split Screen, Slideshow and Tactical. Switch any time and your text, logo, music and links stay.
- Background: animated scene, picture, video, YouTube link, slideshow (up to 30 pictures) or a plain colour, with darken, blur and black & white options.
- Music: add several songs (.mp3, .ogg or .wav), with a player, volume, autoplay and shuffle.
- A real loading bar that follows FiveM's own loading progress, in 7 styles, with percent and "what is loading" text.
- Tips that change, rules, staff and social links (Discord, TikTok, YouTube and more), plus a "Welcome, name" line with the player's name.
- Mouse cursor styles and trails, and 16 built-in fonts or your own font file.
- Close it when the player spawns or as soon as the game loads, with a safety close timer.
Install it and fix common problems
In Loading Screen Studio, Install to my server copies the resource into your resources folder and adds the ensure line to server.cfg (it backs up both first). It also warns you if another loading screen is installed. For a hosted server, use Export .zip and upload it with your host's file manager, then restart the server.
If something is wrong:
- Black screen or video not playing: the video is probably .mp4. Convert it to .webm (VP8/VP9). Also check the file is listed in
files { }and the name matches exactly. - The old loading screen still shows: another loading screen resource is still running. Remove or comment out its
ensureline and restart the server. - Your changes don't show: restart the server after changing files. On your own PC you can also clear
FiveM.app\data\server-cacheso FiveM downloads the new files. - No sound: check the Windows Volume mixer for FiveM Chromium Browser.
- Screen never closes: with
loadscreen_manual_shutdown 'yes', a client script must callShutdownLoadingScreenNui(). Without that script, remove the line.
FAQ
Where do I put a FiveM loading screen?
In your server's resources folder, as its own resource with an fxmanifest.lua. Then add ensure followed by the folder name to server.cfg and restart the server.
Can a FiveM loading screen play an .mp4 video?
Usually not. FiveM's browser can't play most .mp4 files, so use a .webm video (VP8 or VP9). Keep it 10 to 60 seconds and under about 50 MB.
Can I have more than one loading screen?
No. Only one loading screen can run. Remove the ensure line of the old one before adding a new one.
Why is there no music on my loading screen?
Check that the music file is listed in files { } in fxmanifest.lua. If it is, open the Windows Volume mixer and make sure FiveM Chromium Browser is not turned down.
Do I need to know how to code to use Loading Screen Studio?
No. You pick a template, add your logo, video and music, and click Install to my server or Export .zip. Custom CSS and HTML are optional under Advanced.